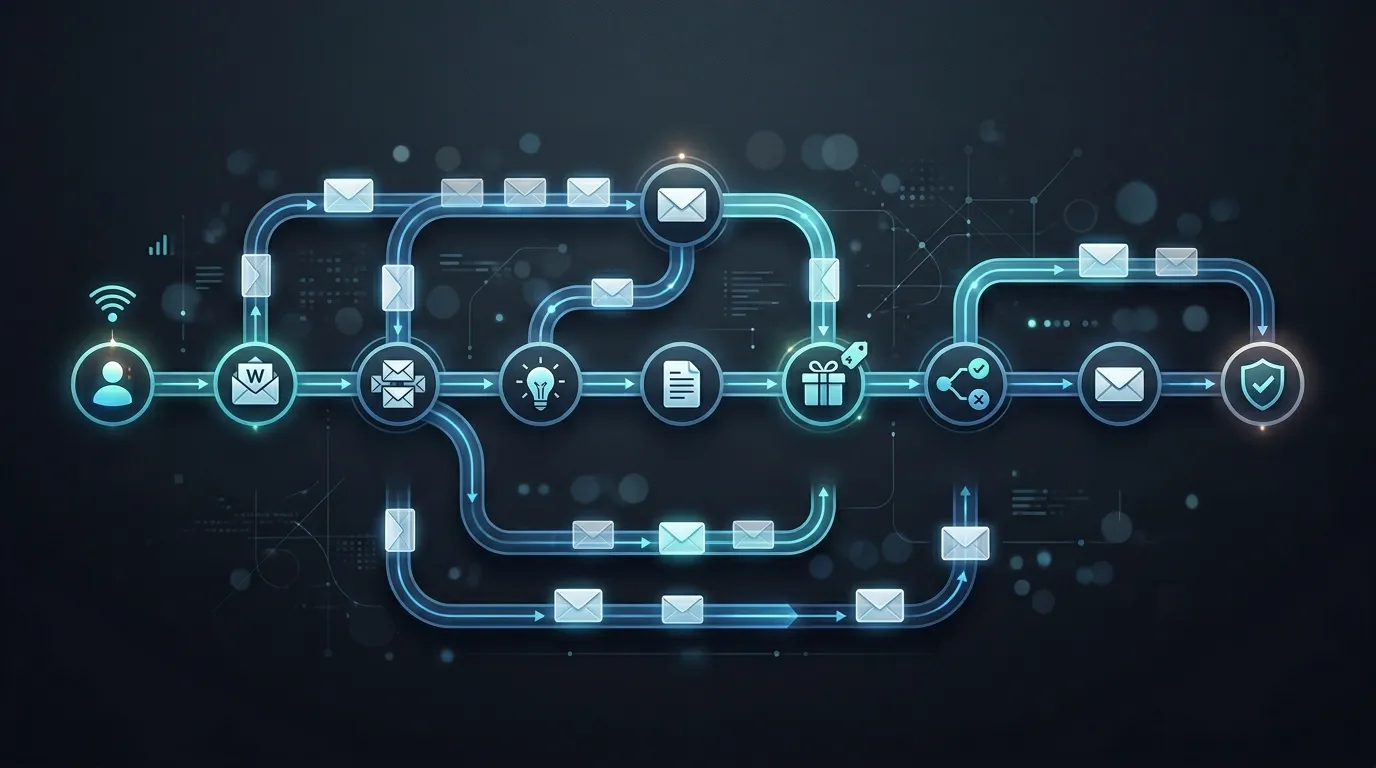

If you want to scale your business without constantly working, email automation is the system you need.
Imagine this:
A visitor joins your email list today… and over the next few days, they automatically receive the right emails at the right time — building trust, solving problems, and eventually converting into a customer.
That’s the power of email automation.
In this guide, you’ll learn exactly what email automation is, why it matters, and how to set up high-converting workflows step by step.
What is Email Automation?
Email automation is the process of sending emails automatically based on user behavior, actions, or triggers.
Instead of manually sending emails, you create workflows that run in the background.
Example:
- User signs up → Welcome email
- User clicks a link → Follow-up email
- User abandons cart → Reminder email
It’s like having a 24/7 automated sales system.
Why Email Automation is a Game-Changer
Let’s be real — manual emailing doesn’t scale.
Here’s why automation is essential in 2026:
- 🤖 Saves time and effort
- 🎯 Sends highly targeted emails
- 📈 Increases conversions
- 🔁 Builds consistent customer journeys
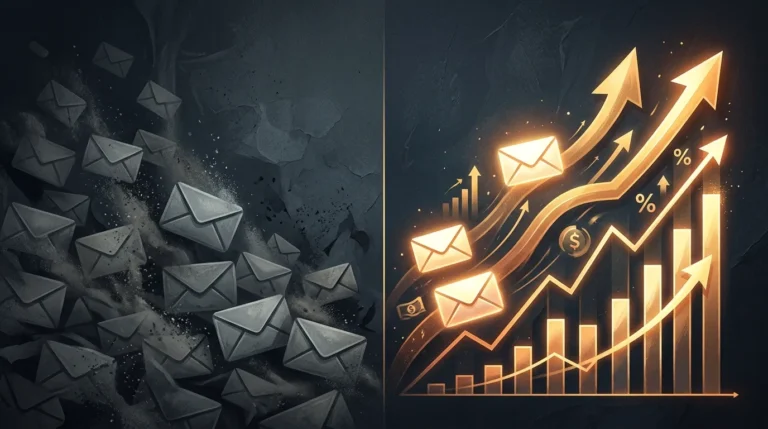
Businesses using automation are not just growing — they’re scaling faster.
Types of High-Converting Email Workflows
Before setting things up, you need to understand the most effective workflows.
1. Welcome Sequence (First Impression Matters)
This is the first email your subscriber receives.
Goal:
- Build trust
- Introduce your brand
- Set expectations
2. Lead Nurturing Sequence
Not everyone buys instantly.
These emails educate and guide users toward a decision.
Content ideas:
- Tips and insights
- Case studies
- Problem-solving content
3. Abandoned Cart Workflow (High Revenue Driver)
For e-commerce businesses, this is a must.
Trigger:
User adds product but doesn’t purchase
Emails:
- Reminder
- Benefits
- Limited-time offer
4. Post-Purchase Workflow
Your job doesn’t end after a sale.
Goals:
- Build loyalty
- Encourage repeat purchases
- Ask for reviews
5. Re-Engagement Campaign
Inactive users don’t mean lost users.
Bring them back with:
- Special offers
- “We miss you” emails
- New updates
Step-by-Step: How to Set Up Email Automation
Let’s break this down into actionable steps.
Step 1: Choose the Right Tool
You’ll need an email marketing platform that supports automation.
Popular options:
- Klaviyo (great for e-commerce)
- ActiveCampaign (advanced automation)
- Mailchimp (beginner-friendly)
If you want a done-for-you setup, explore:
👉 https://emailmarketingzilla.com/services/
Step 2: Define Your Workflow Goal
Each workflow should have one clear objective.
Ask:
- What action should the user take?
- What problem are you solving?
Clarity = better results.
Step 3: Set the Trigger
Automation starts with a trigger.
Common triggers:
- Signup form submission
- Link click
- Product view
- Purchase
- Inactivity
Choosing the right trigger ensures your email reaches the user at the perfect moment.
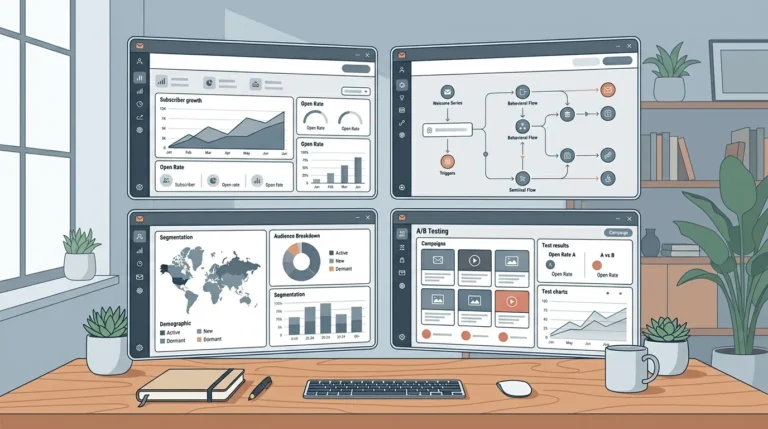
Step 4: Map the Workflow
Before building, plan your sequence.
Example (Welcome Flow):
- Email 1: Welcome
- Email 2: Value + tips
- Email 3: Offer
Keep it simple but strategic.
Step 5: Write High-Converting Emails
Automation doesn’t mean robotic emails.
Your emails should feel human.
Tips:
- Use conversational tone
- Focus on benefits
- Keep it clear and engaging
- Include strong CTAs
Step 6: Set Timing & Delays
Timing matters.
Don’t overwhelm users with too many emails.
Example:
- Email 1 → Immediately
- Email 2 → After 1 day
- Email 3 → After 2–3 days
Test and adjust based on performance.
Step 7: Add Conditions & Logic
Advanced workflows use conditions.
Example:
- If user clicks → Send offer
- If user doesn’t click → Send reminder
This makes your automation smarter and more personalized.
Step 8: Test Before Launch
Never skip testing.
Check:
- Email delivery
- Links
- Timing
- User experience
Fix issues before going live.
Step 9: Track Performance
After launch, monitor your workflow.
Key metrics:
- Open rate
- Click rate
- Conversion rate
Data helps you improve your system.
Step 10: Optimize & Scale
Once your workflow is running:
- Improve email copy
- Test subject lines
- Add more personalization
Over time, your automation becomes more powerful.
Common Mistakes to Avoid
Let’s keep it real — many people mess this up.
❌ Overcomplicating workflows
❌ Sending too many emails
❌ Ignoring personalization
❌ Not tracking performance
❌ Using generic content
Keep it simple, focused, and user-centric.
Real Secret: Automation + Strategy = Sales
Automation alone won’t work.
You need:
- Clear strategy
- Strong messaging
- Proper targeting
That’s what turns automation into a sales machine.
When Should You Hire Experts?
If you:
- Want faster results
- Need advanced workflows
- Don’t have time to manage
Then it’s smart to get professional help.
Check pricing:
👉 https://emailmarketingzilla.com/pricing/
Or request a custom setup:
👉 https://emailmarketingzilla.com/get-a-quote/
Final Thoughts
Email automation is not just a tool — it’s a system.
Once set up correctly, it can:
- Generate leads
- Nurture prospects
- Drive consistent revenue
And the best part?
It works even when you’re not.
Start simple, improve gradually, and build workflows that truly convert.